Step.1 : Install Web Server on CentOS7
หลังจากติดตั้ง CentOS7 เรียบร้อยแล้ว ให้ทำขั้นตอนดังนี้
[root@localhost~]# yum update -y
[root@localhost~]# yum update -y
หลังจาก อัพเดตOS แล้ว ให้ติดตั้ง Web Server ได้เลย
[root@localhost~]# yum install -y httpd
[root@localhost~]# yum install -y httpd


เมื่อติดตั้ง เรียบร้อย ให้ทำการ อนุญาติ Port80 and Service http , https
[root@localhost~]# firewall-cmd --permanent --add-port=80/tcp
[root@localhost~]# firewall-cmd --permanent --add-service=http
[root@localhost~]# firewall-cmd --permanent --add-service=https
[root@localhost~]# firewall-cmd --reload
[root@localhost~]# systemctl start httpd
[root@localhost~]#ifconfig
เมื่อทราบ IP Address แล้ว ให้เปิด Browser แล้วพิมพ์ URL
http://ตามด้วยหมายเลขIP Address เครื่อง

หลังจากนั้นให้ Start Service ของเว็บไซต์
[root@localhost~]#systemctl start httpd
ปล.หากเกิด Error แบบนี้

ให้ทำการปิด selinux ก่อน ครับ ให้ทำดังนี้
[root@localhost~]# vi /etc/sysconfig/selinux

ให้แก้ไข ตรง SELINUX=enforcing ให้เปลี่ยนเป็น SELINUX=disabled
หลังจากนั้น บันทึกแล้วปิด

[root@localhost~]#reboot
Step2 : Install PHP7 on CentOS7
ติดตั้ง Epel and Install PHP7
[root@localhost~]# yum install -y epel-release
[root@localhost~]# rpm -Uvh https://mirror.webtatic.com/yum/el7/webtatic-release.rpm
[root@localhost~]# yum update -y
[root@localhost~]# yum install -y php70w
[root@localhost~]# yum install -y php70w-opcache php70w-xml php70w-soap php70w-xmlrpc php70w-mbstring php70w-json php70w-gd php70w-mcrypt
ตรวจสอบ Version PHP
[root@localhost~]# php -v

[root@localhost~]# systemctl restart httpd
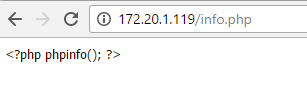
สร้างไฟล์ PHP เพื่อทดสอบ ว่า PHP สามารถทำงานได้หรือไม่
[root@localhost~]# vi /var/www/html/info.php
ให้ใส่ข้อความดังนี้
<?php
phpinfo();
?>
แล้วบันทึก ปิด
ทดสอบการทำงานของ php
ไปที่ Browser พิมพ์
http://ตามด้วย หมายเลขไอพี / ตามด้วยไฟล์ PHP ที่สร้าง
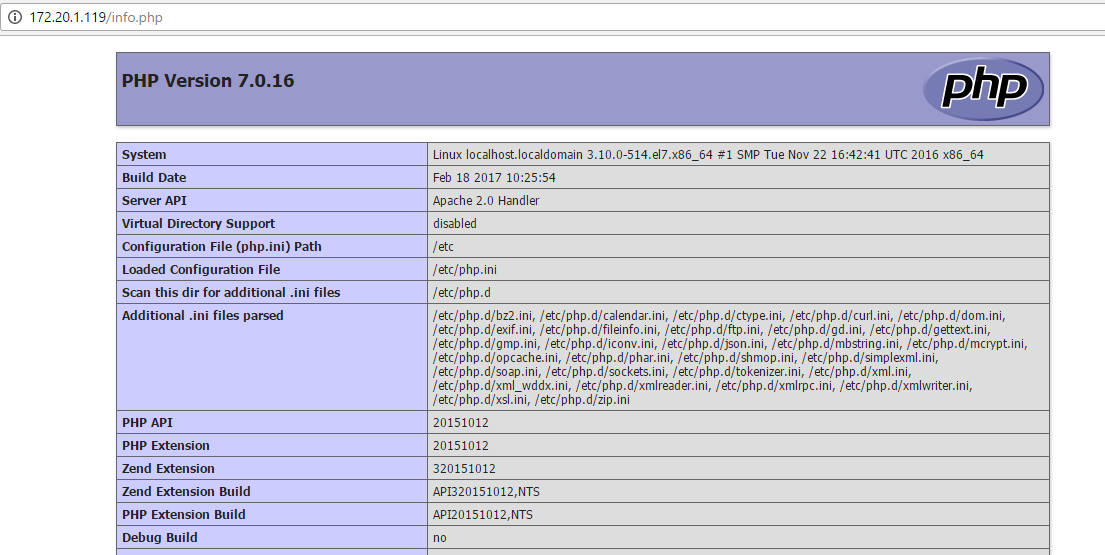
ตัวอย่าง http://172.201.119/info.php
ภาพแสดงถึงการทำงานของ Host และ PHP7 ได้สมบูรณ์
ในกรณี PHP ไม่ทำงาน